Guide 10 GrowSite upgrades
Share your store logins safely with staff and developers
Some links in this post are affiliate links. If you buy through one, I may earn a small commission, at no extra cost to you.
Give each person who works on your store their own login, with only the access they need. Never hand out your own password, not even “just for five minutes”.
By the end of this guide, everyone who works on your shop will have their own account. The few logins that can’t be split will live in a shared password vault. And you’ll know how to lock it all again when someone leaves. It takes about an hour. The Shopify and WordPress settings are free, and sharing from a password manager needs a paid plan.
Why one shared password is a problem
A shared password is like giving everyone a copy of your house key and never changing the locks. You can’t tell who did what. When someone leaves, they can still walk in.
Australia’s cyber security agency makes the same point in its small business guide. Shared accounts hide who did what, and old staff can keep using a password that never changed. The fix is boring, and that’s a good thing. One person, one login.
On Shopify, add staff and collaborators
Shopify’s own advice is clear: “Add staff members to your store, rather than giving them access to your account.” There are two kinds of extra users.
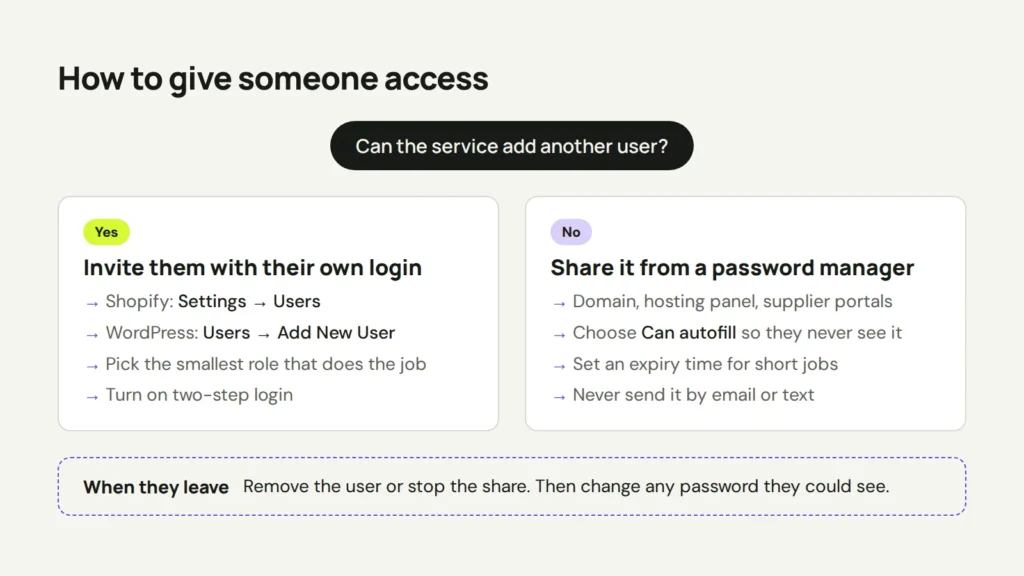
- Staff are people in your business. Add them in Settings → Users, then tick only the areas they need, like orders or products. Your plan sets how many you can add, as I explain in which Shopify plan you need.
- Collaborators are developers and agencies who are Shopify Partners. They don’t count towards your user limit, so use this for anyone you hire.
A developer asks for access with your collaborator request code. You’ll find this 4-digit code in Settings → Users → Security. Give it only to the person you hired. Their request then shows up in Settings → Users, where you choose what they can see and click Accept request. Shopify explains each step in its collaborator accounts guide.
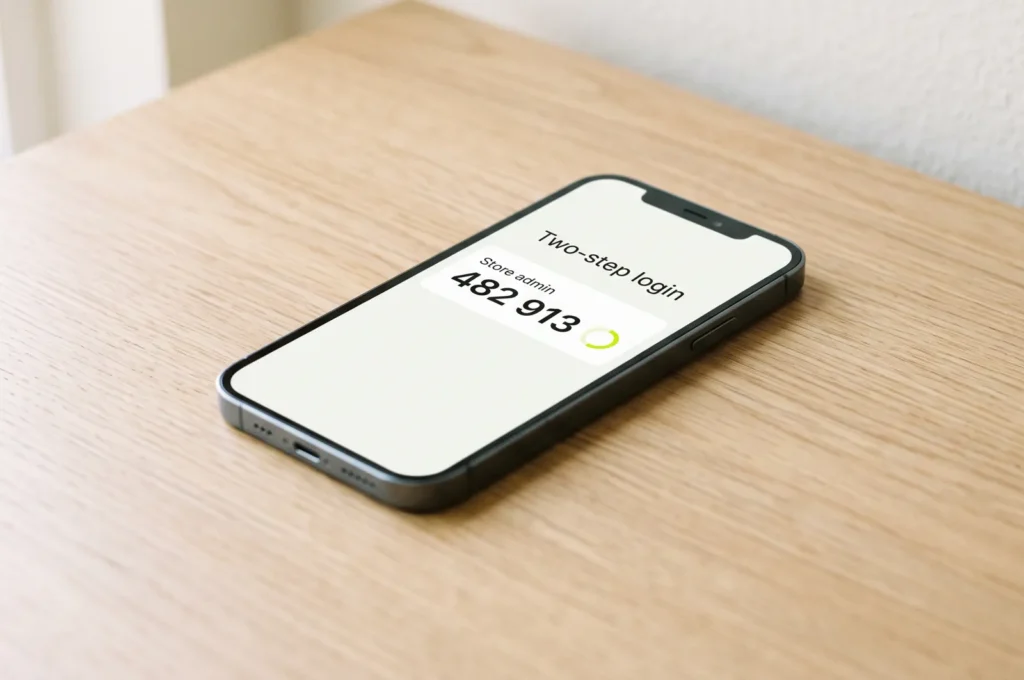
When the job is done, open the person in Settings → Users and remove them. Ask everyone to turn on two-step authentication too, which means a code from an app as well as the password. Only Shopify Plus can make it compulsory, so on other plans you’ll have to ask nicely.
On WordPress and WooCommerce, pick the right role
In WordPress, add people in Users → Add New User and choose a role. The role decides what they can touch.
- Shop Manager comes with WooCommerce. It handles orders, products, refunds, customers and reports, but it can’t change plugins, themes or user roles. It’s the right role for most shop staff.
- Editor suits someone who only writes pages and blog posts.
- Administrator can change everything. Give it to your developer only while they work, and keep the list short. WooCommerce gives the same advice in its guide to user roles.
Next, add a second step to the login. I like the free Two Factor plugin, which WordPress contributors look after. It works with authenticator apps, email codes and backup codes.
When a developer finishes, delete their user. WordPress asks what to do with their content, so give it to your own account. Nothing disappears from the site.
For logins you can’t split, use a password manager
Some accounts have no staff logins at all. Think of your domain name account, an older hosting panel or a supplier’s portal. These are the ones that end up in an email or on a sticky note.
A password manager keeps them in an encrypted vault and shares them without sending the password in plain text. Any good one works. I’ll use NordPass as the example, because its sharing options suit a small team well.
- Open the login in NordPass, click the three dots and choose Share.
- Enter the person’s email address. They get a notice and accept the item.
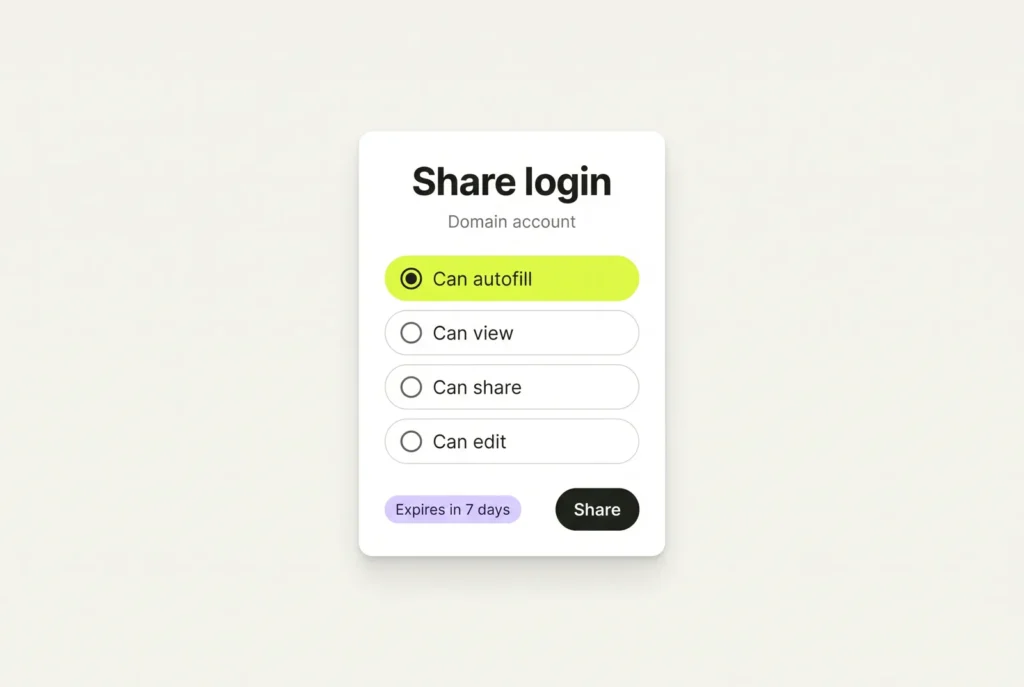
- Pick what they can do. Can autofill lets them log in without ever seeing the password. Can view, Can share and Can edit give them more.
- Set an expiry time if they only need it for a short job.
Prefer to watch? NordPass shows the same steps in its own video.
Sharing needs NordPass Premium or a NordPass business plan. The business plans add shared folders, an activity log, a password health check and a data breach scanner. The free plan can receive shared logins but can’t share them.
One thing to remember. Stopping a share doesn’t erase what someone already saw. If they had Can view, change that password after they leave.
Working from a café? Add a VPN
Sooner or later you’ll answer an order on café Wi-Fi, usually with a flat white in the other hand. The ACSC says public hotspots “can be accessed by anyone, and are often free and unsecured.” Its advice is direct.

If you use public Wi-Fi hotspots frequently, install and use a reputable VPN service on your device.
A VPN (virtual private network) encrypts everything between your device and the VPN server. The café network only sees scrambled data. NordVPN is a good fit for a small team. One account covers up to 10 devices, and its kill switch blocks your traffic if the VPN connection drops.

It also sells a dedicated IP, which is an internet address that only you use. Your developer can then allow logins to your hosting panel or WordPress admin from that address only. No VPN? Use your phone’s hotspot instead, so you’re not sharing the network with strangers.
Check who has access every few months
Old accounts pile up over time, a bit like keys in a kitchen drawer. Put a reminder in your calendar and run through this list.
- Open Settings → Users in Shopify, or Users in WordPress. Remove anyone who doesn’t work with you now.
- Look for Administrators you don’t recognise. That’s a warning sign, so ask your developer to check the site.
- Run the password health check in your password manager and replace weak or reused passwords.
- Make sure your own account has two-step authentication on.
It fits nicely next to my 10-minute website check. If you’d rather not untangle years of shared logins yourself, we can set up access and security for your site. Then the only keys out there are the ones you meant to hand out.
Opens in a new tab

Comments
No comments yet. Questions, fixes and better ways are all welcome.