Lesson 04 LearningExplainers
Add a README.md to every project (with a template)
You open an old project and can’t remember how to run it. A README fixes that. A README is the text file at the root of a project that explains what it is and how to work on it. Name it README.md and write it in Markdown, a simple way to format plain text.
It should answer the questions every new person asks. What is this? How do I run it? How do I deploy it? Who do I ask? GitHub, GitLab and Bitbucket show it on the project’s front page automatically.
Why every project needs one
The person who most needs your README is often you, a year from now. You’ll be trying to remember which PHP version the site needs and where the staging server is. A project without a README is like a box in the freezer with no label. You know it’s something good, but not what it is or how old.
For client work, it’s also the handover document. A new developer, or the client’s own team, can get going without a phone call. Writing it takes about twenty minutes. Not having it costs hours the first time something breaks.
What to put in it
I’d cover these seven things, in this order. Seven sounds like a lot, but each one is short.
- What it is. One or two sentences, and the live URL.
- Requirements. PHP, Node and database versions, and anything else the machine needs.
- Getting started. The exact commands to go from a fresh clone to a running site.
- Configuration. Which environment variables or config files exist, with a sample file in the repository. Never the real secrets.
- Common tasks. Building assets, running tests, importing data.
- Deployment. How changes reach staging and live, and who is allowed to do it.
- Where things are. Hosting, DNS, the repository, related services and who owns them.
A template to copy
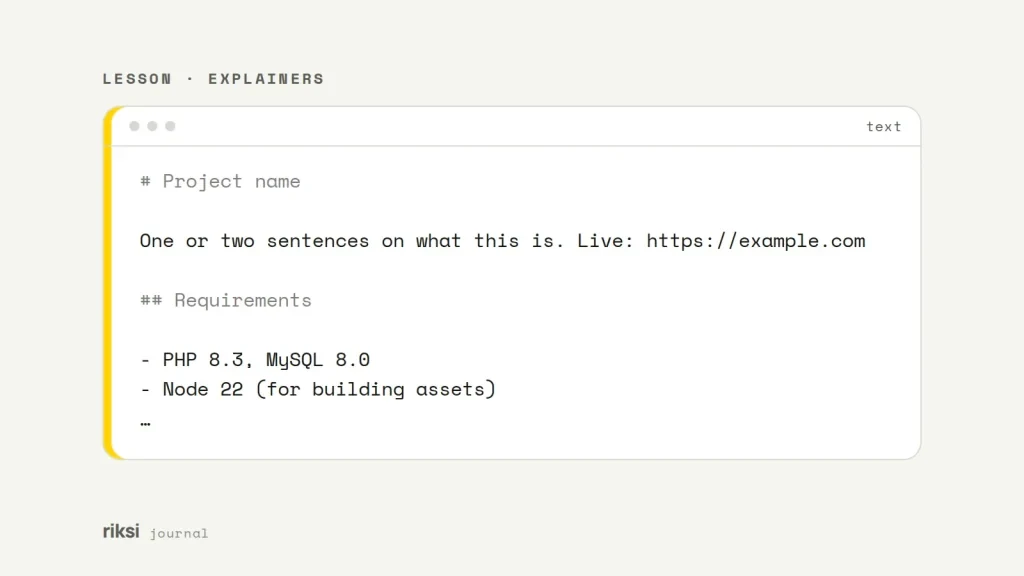
# Project name

One or two sentences on what this is. Live: https://example.com

## Requirements

- PHP 8.3, MySQL 8.0
- Node 22 (for building assets)
- WP-CLI

## Getting started

```bash
git clone [email protected]:example/site.git
cd site
cp .env.example .env        # then fill in the values
composer install
npm install && npm run build
wp db import backups/latest.sql
```

Local URL: http://site.test

## Configuration

| Variable      | What it is             |
| ------------- | ---------------------- |
| `DB_NAME`     | Database name          |
| `MAIL_HOST`   | SMTP server for email  |

## Common tasks

- `npm run dev` - watch and rebuild CSS/JS
- `composer test` - run the test suite

## Deployment

Merging to `main` deploys to staging. Tag a release (`v1.4.0`) to deploy to live.

## Contacts

- Hosting: ExampleHost, account in the team password manager
- Developer: Riksi, [email protected]
Delete the sections that don’t apply. An empty “Tests” heading is worse than none. It makes a promise that the rest of the file doesn’t keep.
The small bit of Markdown you need
| Write | Get |
|---|---|
# Heading, ## Subheading |
Headings. |
**bold**, *italic* |
bold, italic. |
- item or 1. item |
Bulleted or numbered lists. |
[text](https://example.com) |
A link. |
`code` |
Inline code. |
| Three backticks on their own lines, with a language name | A code block with highlighting. |
| a | b | rows with a |---|---| line |
A table. |
On GitHub the result looks like this.

Keep it up to date
An out-of-date README is worse than none, because people trust it. It’s like a map that shows a bridge that isn’t there any more. I update it in the same commit as the change it describes. That might be a new environment variable, a new build step or a new server.
Now and then, test it by following it from a fresh clone. If a step fails or is missing, fix the README straight away. It’s the best test I know.
Other files I like to have
.env.examplelists every setting the project needs, with safe placeholder values.CHANGELOG.mdrecords what changed in each release, for projects with versions.LICENSEis for anything open source, so people know how they may use it.
The most useful rule is to give exact commands, not descriptions. “Run composer install” helps far more than “install the dependencies”.
On your next project, copy the template above before you write any code. It’s much easier to fill in as you go. Then the next person who opens the project won’t need to phone anyone, and that includes you.
Comments
No comments yet. Questions, fixes and better ways are all welcome.